안녕하세요
REST Clients에 대해서 살펴보겠습니다.
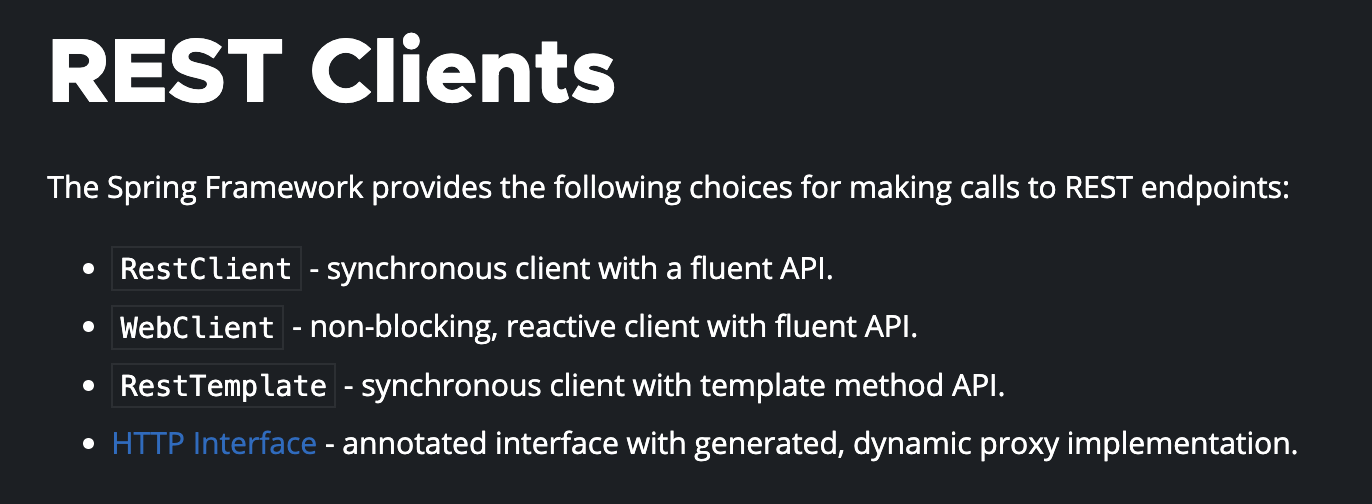
아래처럼 스프링프레임워크는 여러가지 REST endpoints를 제공합니다:)
- RestClient
- WebClient
- RestTemplate

동기호출 방식으로 RestTemplate를 학습하였는데요
2024.04.07 - [OpenSource/Spring Boot] - springboot - RestTemplate 적용
REST Client라는 친구도 있어서 정리 해봅니다.
The RestClient is a synchronous HTTP client that offers a modern, fluent API.
이 친구는 동기방식의 HTTP Client인데요 RestTemplate보다 모던하다고 하니
옛날사람이 되지 않으려면 학습해서 사용해도 좋을것 같습니다ㅋㅋㅋ
사용방법은 아래처럼 2가지 방법입니다.
RestClient defaultClient = RestClient.create();

RestClient customClient = RestClient.builder()
  .requestFactory(new HttpComponentsClientHttpRequestFactory())
  .messageConverters(converters -> converters.add(new MyCustomMessageConverter()))
  .baseUrl("https://example.com")
  .defaultUriVariables(Map.of("variable", "foo"))
  .defaultHeader("My-Header", "Foo")
  .requestInterceptor(myCustomInterceptor)
  .requestInitializer(myCustomInitializer)
  .build();
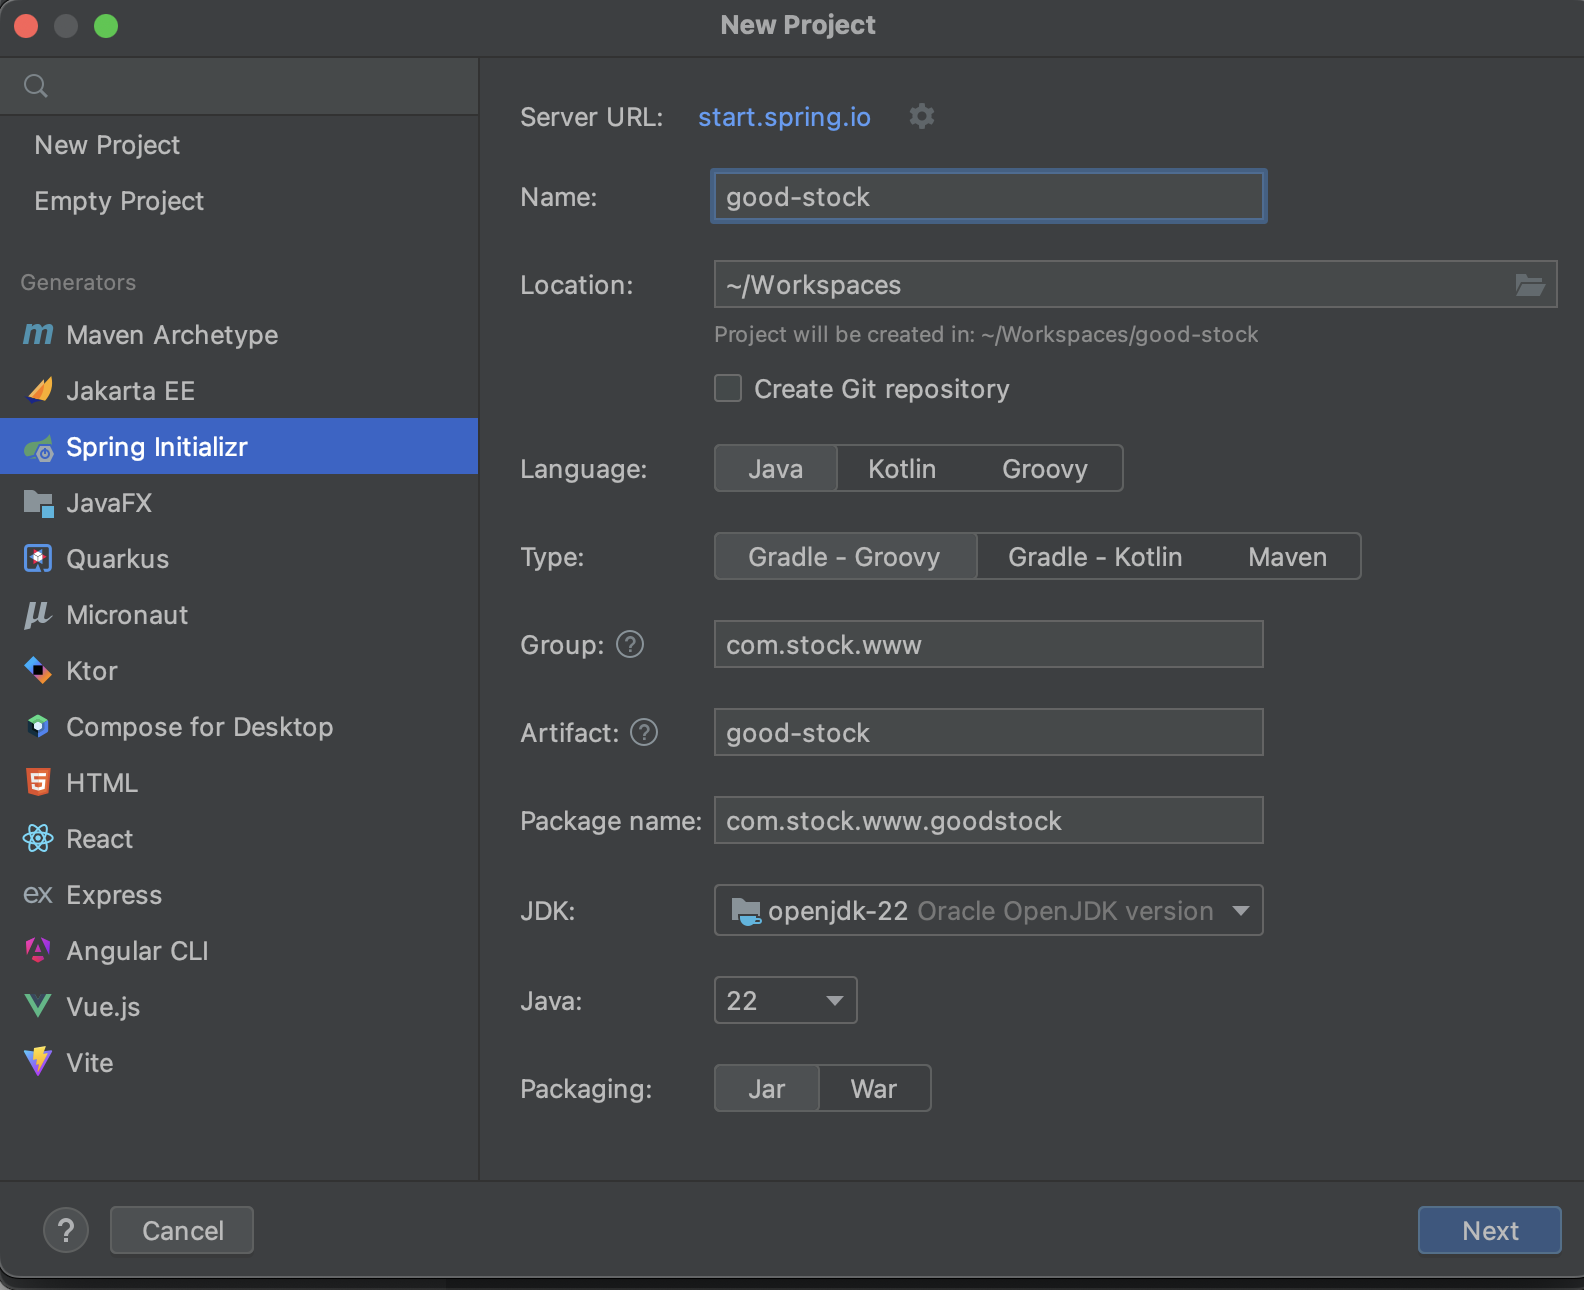
궁금하니 후딱 프로젝트를 셋팅해서 테스트 해보겠습니다 ㅎㅎ
주식 관련 프로그램을? 만들어보겠습니다ㅋㅋ
자바 버전도 무려 22 버전으로~:)

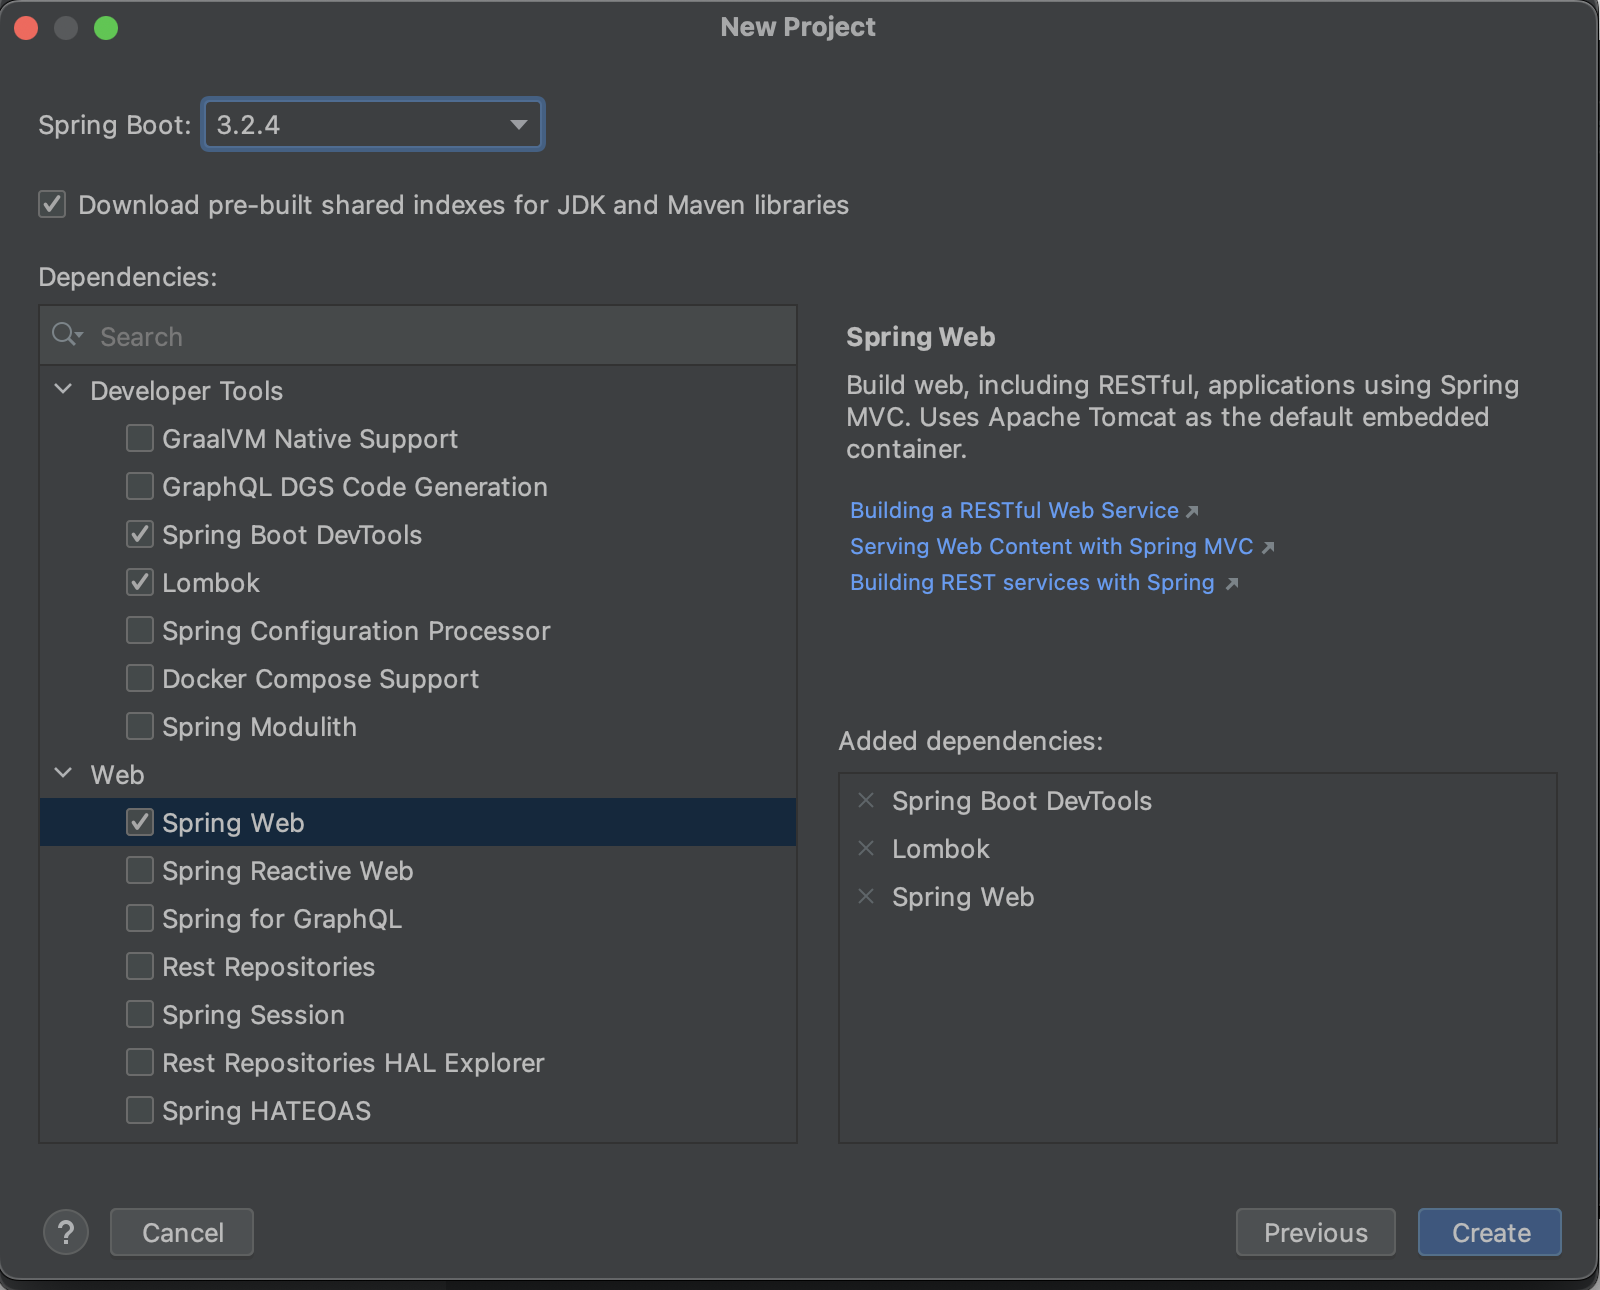
스프링부트 버전도 최신~

빌드 시켜보니 그래들에 안잡혀있군요ㅋㅋ

아래처럼 셋팅에서 22로 변경 해줍니다.

다시 빌드시키면 gradle8.7에서 22를 사용못하나보네요 큭..21로 낮춰줍니다ㅎㅎ

build.gradle에서도 22에서 21로 변경!

그리고 아래처럼 디펜던시를 추가 해줍니다.
	// https://mvnrepository.com/artifact/org.apache.httpcomponents.client5/httpclient5
	implementation 'org.apache.httpcomponents.client5:httpclient5:5.3.1'
이제 셋팅은 되었습니다.
우선 mvc 구조로 만들어줍니다.
2024.03.09 - [OpenSource/Spring Boot] - 주저리) mvc에서 controller 분리 전략

dir를 만들어줬으니 우선 컨트롤러를 작성해봅니다.
package com.stock.www.goodstock.controller;

import org.springframework.web.bind.annotation.GetMapping;
import org.springframework.web.bind.annotation.RequestParam;
import org.springframework.web.bind.annotation.RestController;

@RestController
public class StockController {
    @GetMapping("/hello")
    public String getHello(@RequestParam String q) {
        return "helloWorld"+q;
    }
}
바로 실행각!

아래처럼 접속해보면 잘 뜨는걸 확인!!

이제 서비스를 하나 만들고 test를 해보겠습니다.
package com.stock.www.goodstock.service;

import org.springframework.stereotype.Service;
import org.springframework.web.client.RestClient;

@Service
public class StockService {
    public String getStockHteml(String q){

        RestClient defaultClient = RestClient.create();
        String res = defaultClient.get()
                .uri("https://finance.naver.com/sise/sise_quant.naver")
                .retrieve()
                .body(String.class);

        return res;
    }
}
컨트롤러는 아래와 같이 변경 합니다.
컨트롤러에는 로직이 들어가지 않으니 서비스를 호출해주겠습니다.
package com.stock.www.goodstock.controller;

import com.stock.www.goodstock.service.StockService;
import lombok.RequiredArgsConstructor;
import org.springframework.web.bind.annotation.GetMapping;
import org.springframework.web.bind.annotation.RequestParam;
import org.springframework.web.bind.annotation.RestController;

@RestController
@RequiredArgsConstructor
public class StockController {

    private final StockService stockService;

    @GetMapping("/hello")
    public String getHello(@RequestParam String q) {
        String res = stockService.getStockHteml(q);
        return "test:"+res;
    }
}
다시 테스트를 해보면!!
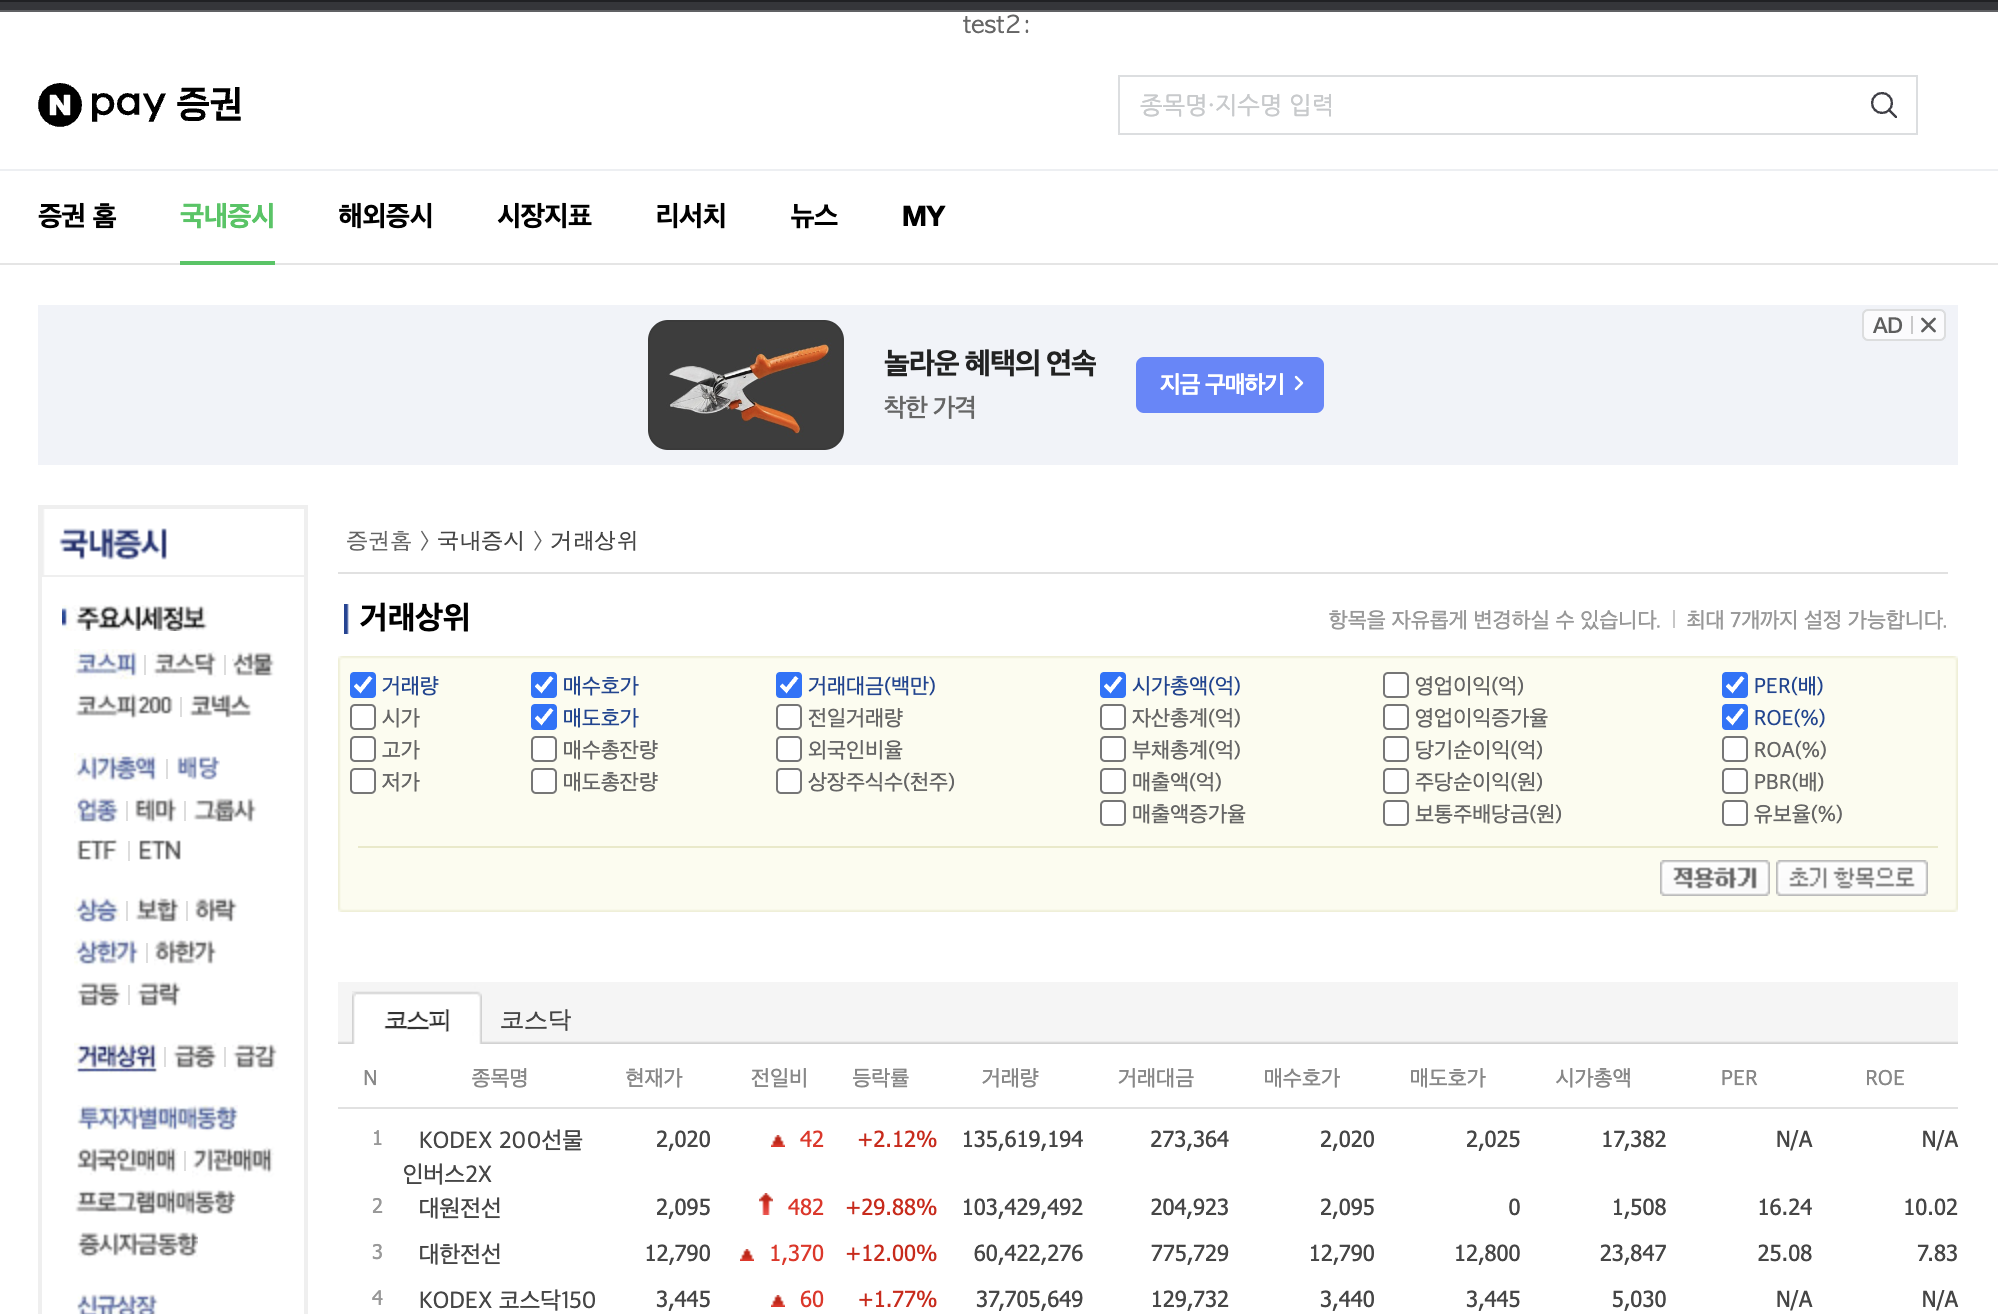
아래와 같이 test: 우리가 호출한 친구가 html구조라서 아래처럼 나오게 됩니다 ㅎㅎ

이제 2번째 방법인데 Configuration으로 만들어서 어디서든 사용하도록 해보겠습니다.
일단 서비스에서 RestClient를 호출할 수 있도록 RestClinetConfig를 만들어 줍니다.

package com.stock.www.goodstock.config;

import org.springframework.context.annotation.Bean;
import org.springframework.context.annotation.Configuration;
import org.springframework.http.client.HttpComponentsClientHttpRequestFactory;
import org.springframework.web.client.RestClient;

import java.util.Map;

@Configuration
public class RestClientConfig {
    @Bean
    public RestClient restClient() {
        return RestClient.builder()
                .requestFactory(new HttpComponentsClientHttpRequestFactory())
                //.messageConverters(converters -> converters.add(new MyCustomMessageConverter()))
                //.baseUrl("https://example.com")
                .defaultUriVariables(Map.of("variable", "foo"))
                .defaultHeader("My-Header", "Foo")
                //.requestInterceptor(myCustomInterceptor)
                //.requestInitializer(myCustomInitializer)
                .build();
    }
}
이제 컨트롤러에 hello2를 적용!
package com.stock.www.goodstock.controller;

import com.stock.www.goodstock.service.StockService;
import lombok.RequiredArgsConstructor;
import org.springframework.web.bind.annotation.GetMapping;
import org.springframework.web.bind.annotation.RequestParam;
import org.springframework.web.bind.annotation.RestController;

@RestController
@RequiredArgsConstructor
public class StockController {

    private final StockService stockService;

    @GetMapping("/hello")
    public String getHello(@RequestParam String q) {
        String res = stockService.getStockHteml(q);
        return "test:"+res;
    }
    @GetMapping("/hello2")
    public String getHello2(@RequestParam String q) {
        String res = stockService.getStockHtml2(q);
        return "test2:"+res;
    }

}
이제 서비스에서~RestClient를 주입받아서 사용합니다.
package com.stock.www.goodstock.service;

import com.stock.www.goodstock.config.RestClientConfig;
import lombok.RequiredArgsConstructor;
import org.springframework.stereotype.Service;
import org.springframework.web.client.RestClient;

@Service
@RequiredArgsConstructor
public class StockService {
    private final RestClientConfig restClientConfig;
    public String getStockHteml(String q){

        RestClient defaultClient = RestClient.create();
        String res = defaultClient.get()
                .uri("https://finance.naver.com/sise/sise_quant.naver")
                .retrieve()
                .body(String.class);

        return res;
    }

    public String getStockHtml2(String q){

        String res = restClientConfig.restClient().get()
                .uri("https://finance.naver.com/sise/sise_quant.naver")
                .retrieve()
                .body(String.class);

        return res;

    }
}
이제 /hello2로 접속해봅니다.
동일하게 아래처럼 test2: 로 나옵니다~

좀 더 자세한 방법은 아래를 참조하세요~
https://docs.spring.io/spring-framework/reference/integration/rest-clients.html
https://spring.io/blog/2023/07/13/new-in-spring-6-1-restclient
'OpenSource > Spring Boot' 카테고리의 다른 글
| Spring Boot GraphQL Client (0) | 2024.07.03 |
|---|---|
| json to dto or json to values (0) | 2024.05.13 |
| springboot - RestTemplate 적용 (0) | 2024.04.07 |
| springboot bootBuildImage (0) | 2024.03.21 |
| Field injection is not recommended (0) | 2024.03.21 |


